
When the children help cook dinner, there is one recipe that is the first choice. Where the kids fight over who gets to do which step. And if you are judicious about doubling the recipe, there are even leftovers. Yes, I’m talking about bucatini all’Amatriciana. I’ve written about it on Facebook a few times, but never here, and I’ve never gone into detail about my own particular formulation of Amatriciana. So here goes. (Nota bene: this recipe makes a double dose of Bucatini all’Amatriciana, which is enough for dinner for a family of four plus leftovers. You’ll want the leftovers. If not: cut every step in half!)
Step 1: cut two thick slices of (guanciale/pancetta/double smoked bacon) into chunks about 1/4 inch thick and about 3/4 inch long. First apostasy: you can make Amatriciana with a few different kinds of pork. The classic is guanciale, basically bacon made from the jowl of the pig. This is a lot easier to find than it used to be, but it’s not universally available. Fortunately for you, you can also make Amatriciana with pancetta (pork belly rolled with herbs and pepper and air-cured), or even with double-smoked bacon. The key here is that you want some pork with some serious flavor, because whatever you choose will influence the final taste of the dish. But you don’t need to be too precious about it, because all of the above are remarkably delicious in this preparation.
Step 2: cook pork in enough olive oil to thinly cover the bottom of your pan, until the fat renders a bit and the pork is just starting to turn brown Simultaneously start a big pot of water with two tablespoons of kosher salt at high heat and put a lid on it. For me, this is about 2-3 Tbsp of olive oil. I always recommend using a high sided saucepan for this step, preferably a 4-6 quart sized one because we’re going to build the sauce in this pan. I don’t let the pork get crunchy at this stage, but the more patient you are here, the better, because the fat that renders out will add flavor to the rest of the sauce. You’re also going to start readying the pasta water (which we salt, because we’re not barbarians, and we know that pasta by itself doesn’t have a lot of flavor). If the pasta water comes to a boil in the following steps, turn the heat all the way down to low so it’s ready to go when you are. Meanwhile:
Step 3a: Cut a red onion in half so that each half yields a half-arch when sliced through. Slice half to three-quarters of the onion in thin half-rounds, so that each slice is arch shaped. Reserve any remaining onion for another use. This was an epiphany for me when our family visited Eataly and I looked at how they did their Amatriciana. Red onions maintain structural integrity longer and are sweeter when cooked than their yellow brethren, both of which are benefits here. That said: if what you have is yellow onions, use them! Just make sure you cut them so that each slice has an arch of onion — the longer pieces of onion make for better texture in the finished sauce.
Step 3b: Once the pork is almost brown, add the onion and lower the heat to medium low, then stir the pork and onion together until the onion is starting to melt into the incipient sauce. You don’t need to go overboard and caramelize all the sugars in the onion at this stage, but the sauce won’t mind if you err in this direction. You want that onion slumping. Maybe not defeated but at least thinking about surrendering.
Step 4: Add two large cans of tomatoes. Ideally add one can crushed and one can diced tomatoes, to taste. Why different cans of tomatoes? Simple: you’re trying to get to a texture where the sauce has some bite, but still covers the pasta smoothly. If you have time and the wolves, aka teenagers, are not pawing at the proverbial door of dinner, by all means just use diced tomatoes and cook them until they collapse. But I would recommend at a minimum using crushed and not puréed tomatoes because you’ll get a better taste out of the finished sauce.
Step 5: Season the sauce with kosher salt and chili pepper flakes. You’ve just added two cans of tomatoes, so don’t skimp here. I don’t measure, but by my eyeballs I typically add about 1.5 tablespoons of kosher salt and at least a teaspoon of chili pepper flakes. Lower the temperature to medium-low and stir occasionally. You’re trying to soften down the chunkier bits of the tomatoes. Ideally let this step go for 10 or 15 minutes before you…
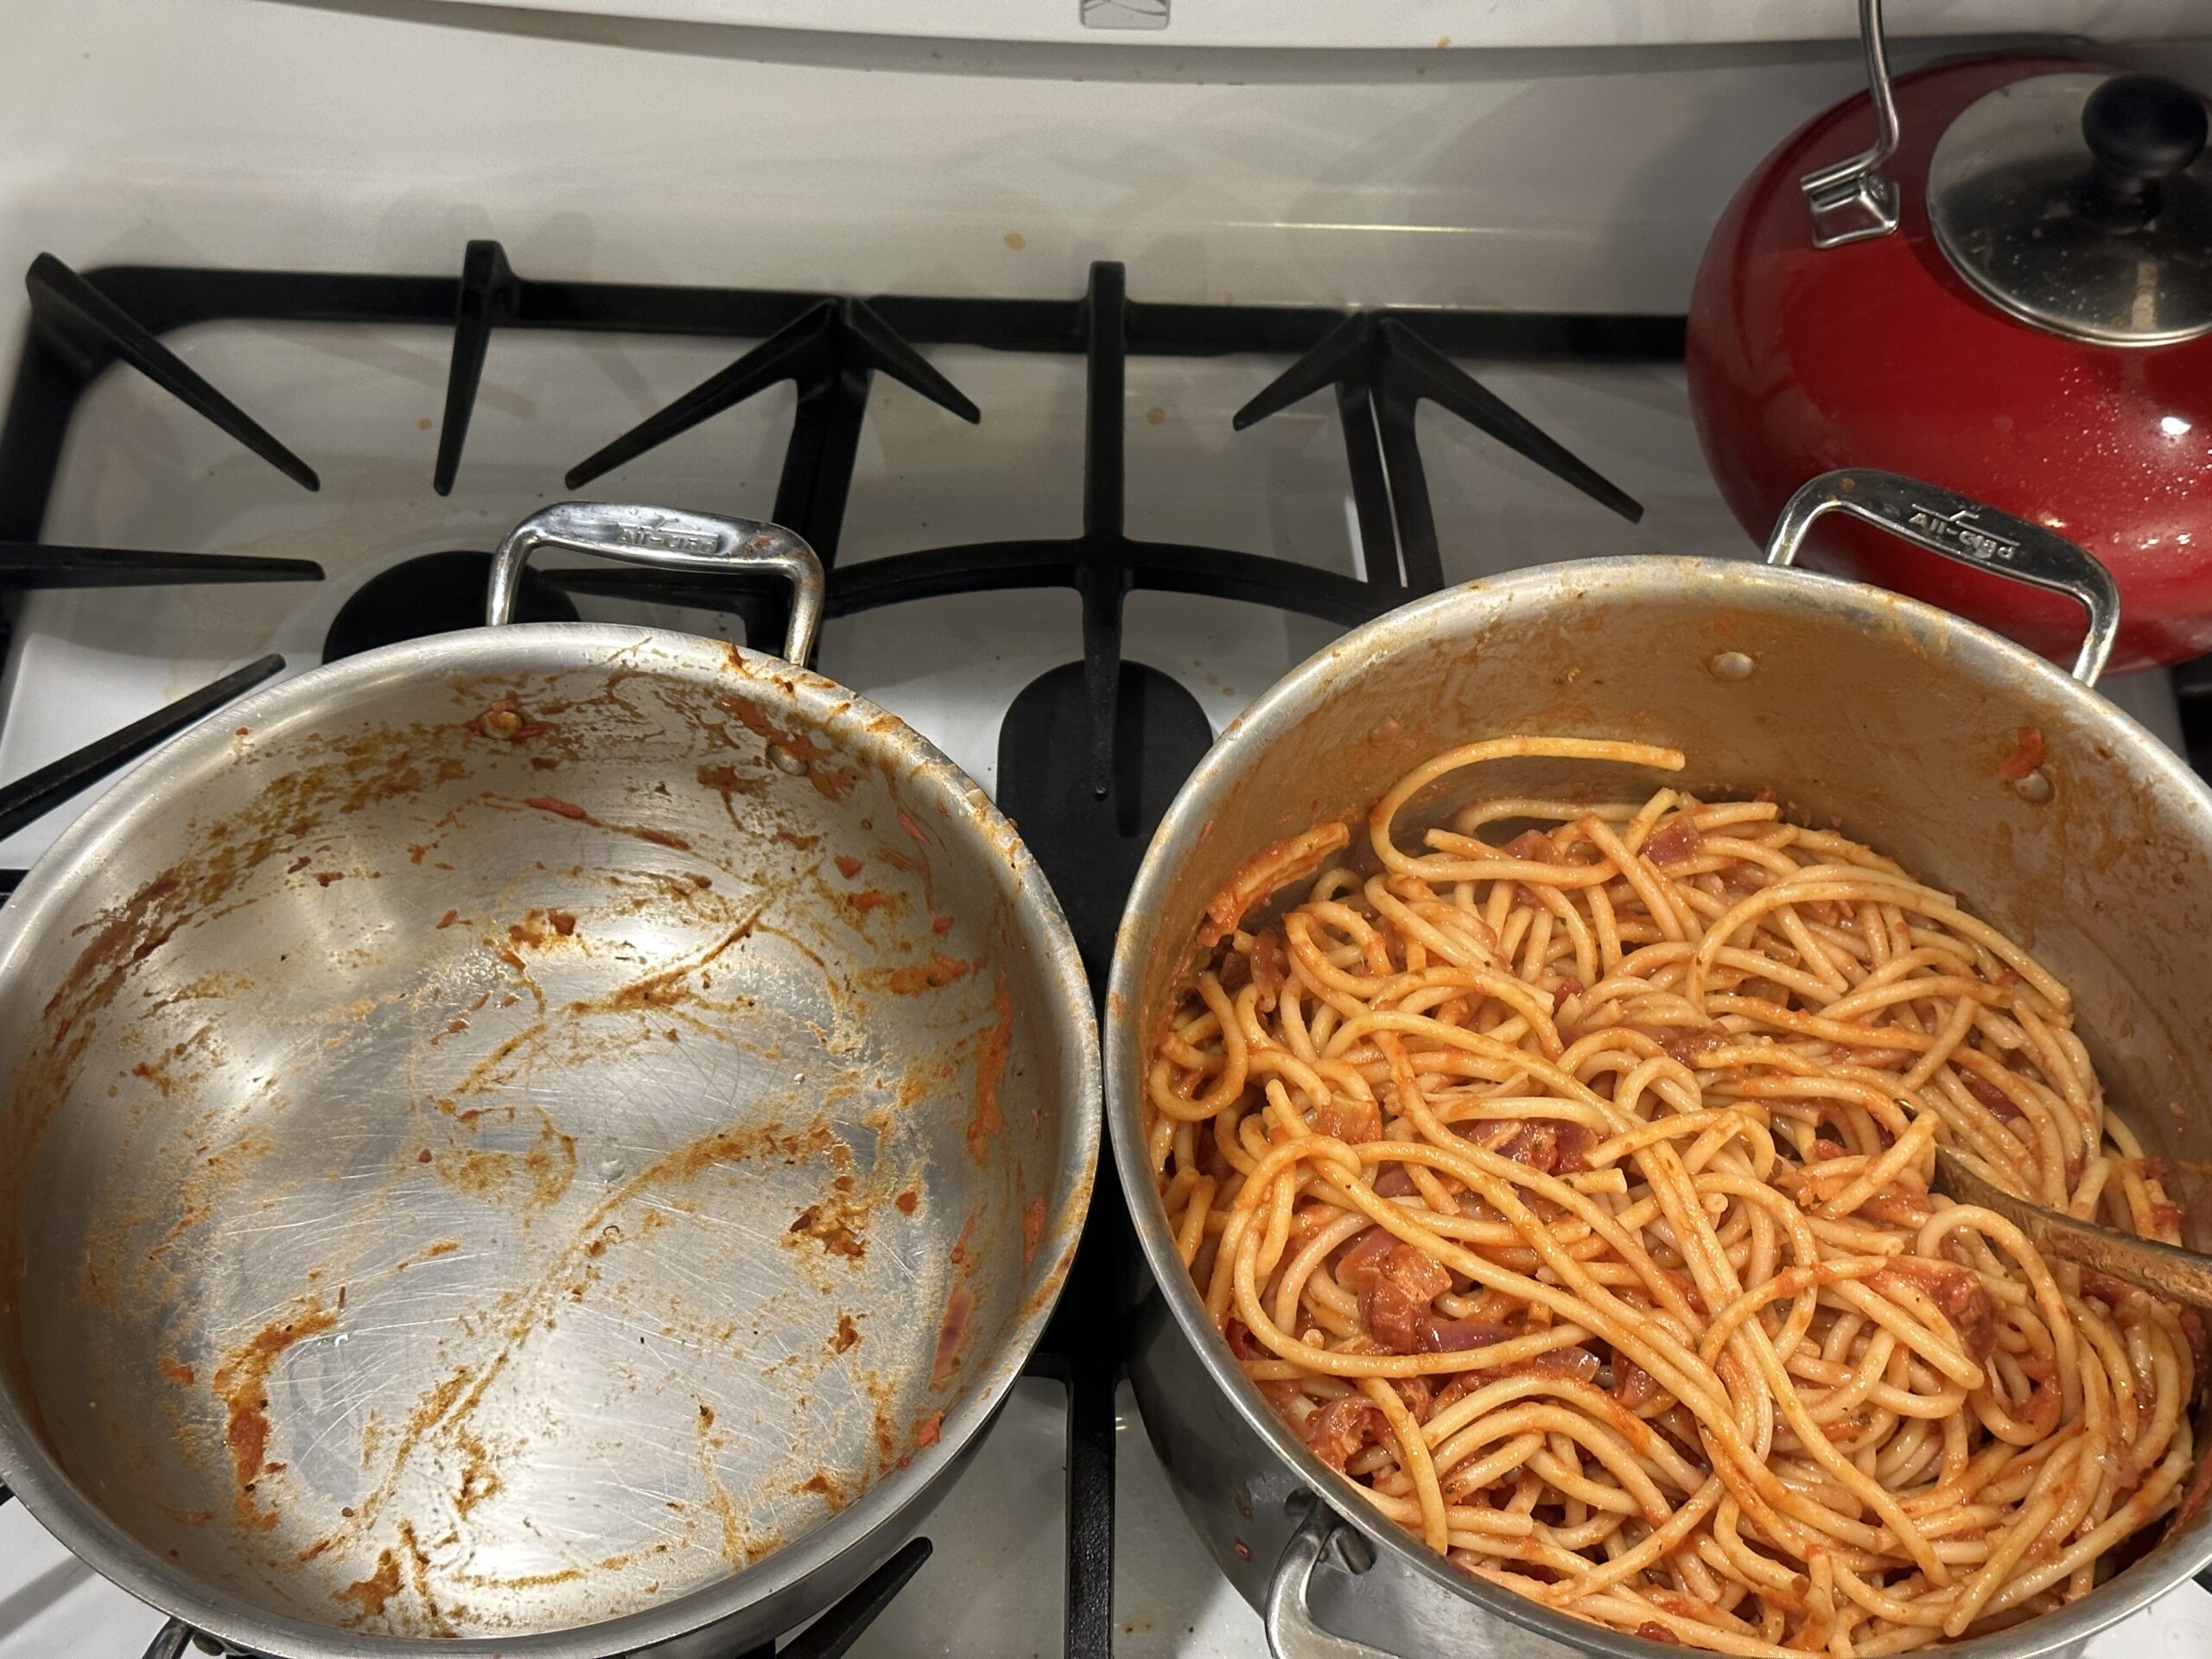
Step 6: cook the pasta. If you’ve had to turn the heat down under the pasta water, crank it back up to high for a few minutes, then add two pounds of bucatini (preferred) or thick spaghetti (if you must). Cook according to the package directions. When it tastes done, reserve a cup of the pasta water, then drain the rest of the water away in a colander and return the pasta to the pot.
(Why is bucatini preferred? Because the pinhole up the middle of each strand of pasta will soak up the sauce! Or, because it gives you something to talk about at dinner.)
Step 7: sauce the pasta and serve. Dump the sauce into the pasta pot and stir. Then (important!) add most or all of the reserved pasta water and stir again. Why? The additional starch from the pasta water helps give the right texture to the pasta, and the water helps ensure that the pasta soaks up the sauce properly. Nota bene: as a Roman pasta, this is best with pecorino Romano, but can be eaten with parmigiano Reggiano in a pinch. Ideally avoid any pasta cheese that comes in a green can for this dish. For our family of four this usually ends up with good leftovers for a few meals.
There aren’t a lot of secrets in this recipe, but the few that are new (red onion! Pork options! Textures in the tomatoes!) are worth noting and critiquing. If you end up with a different approach, please comment and let me know!